Swift - Serving Static Websites
Introduction
Using the Swift command line, it is possible to serve the data in containers as a static website. The following guide will outline the main steps to get started, as well as including an example of a website.
First Steps
Create a container
We will first create a container named example-webpage which we will use as the basis of this guide:
swift post example-webpage
Make the container publically readable
Next, we must ensure that the container is publically readable. You can learn more about securing containers and setting bucket policies here:
swift post -r '.r:*' example-webpage
Set site index file
Set the index file. In this case, index.html will be the default file displayed when the site appears:
swift post -m 'web-index:index.html' example-webpage
Enable file listing
Optionally, we can also enable file listing. If you need to provide multiple downloads, enabling the directory listing makes sense:
swift post -m 'web-listings: true' example-webpage
Enable CSS for file listing
Enable a custom listings style sheet:
swift post -m 'web-listings-css:style.css' example-webpage
Set error pages
Finally, we should include a custom error page:
swift post -m 'web-error:404error.html' example-webpage
Example Webpage
Let’s recap the steps we have taken so far to enable static webpages:
swift post example-webpage
swift post -r '.r:*' example-webpage
swift post -m 'web-index:index.html' example-webpage
swift post -m 'web-listings: true' example-webpage
swift post -m 'web-listings-css:style.css' example-webpage
swift post -m 'web-error:404error.html' example-webpage
Once the steps above have been completed, we can now begin to customise our static webpage. The following demonstrates a quick setup using our container example-webpage
Customising index.html, page.html, and 404error.html pages
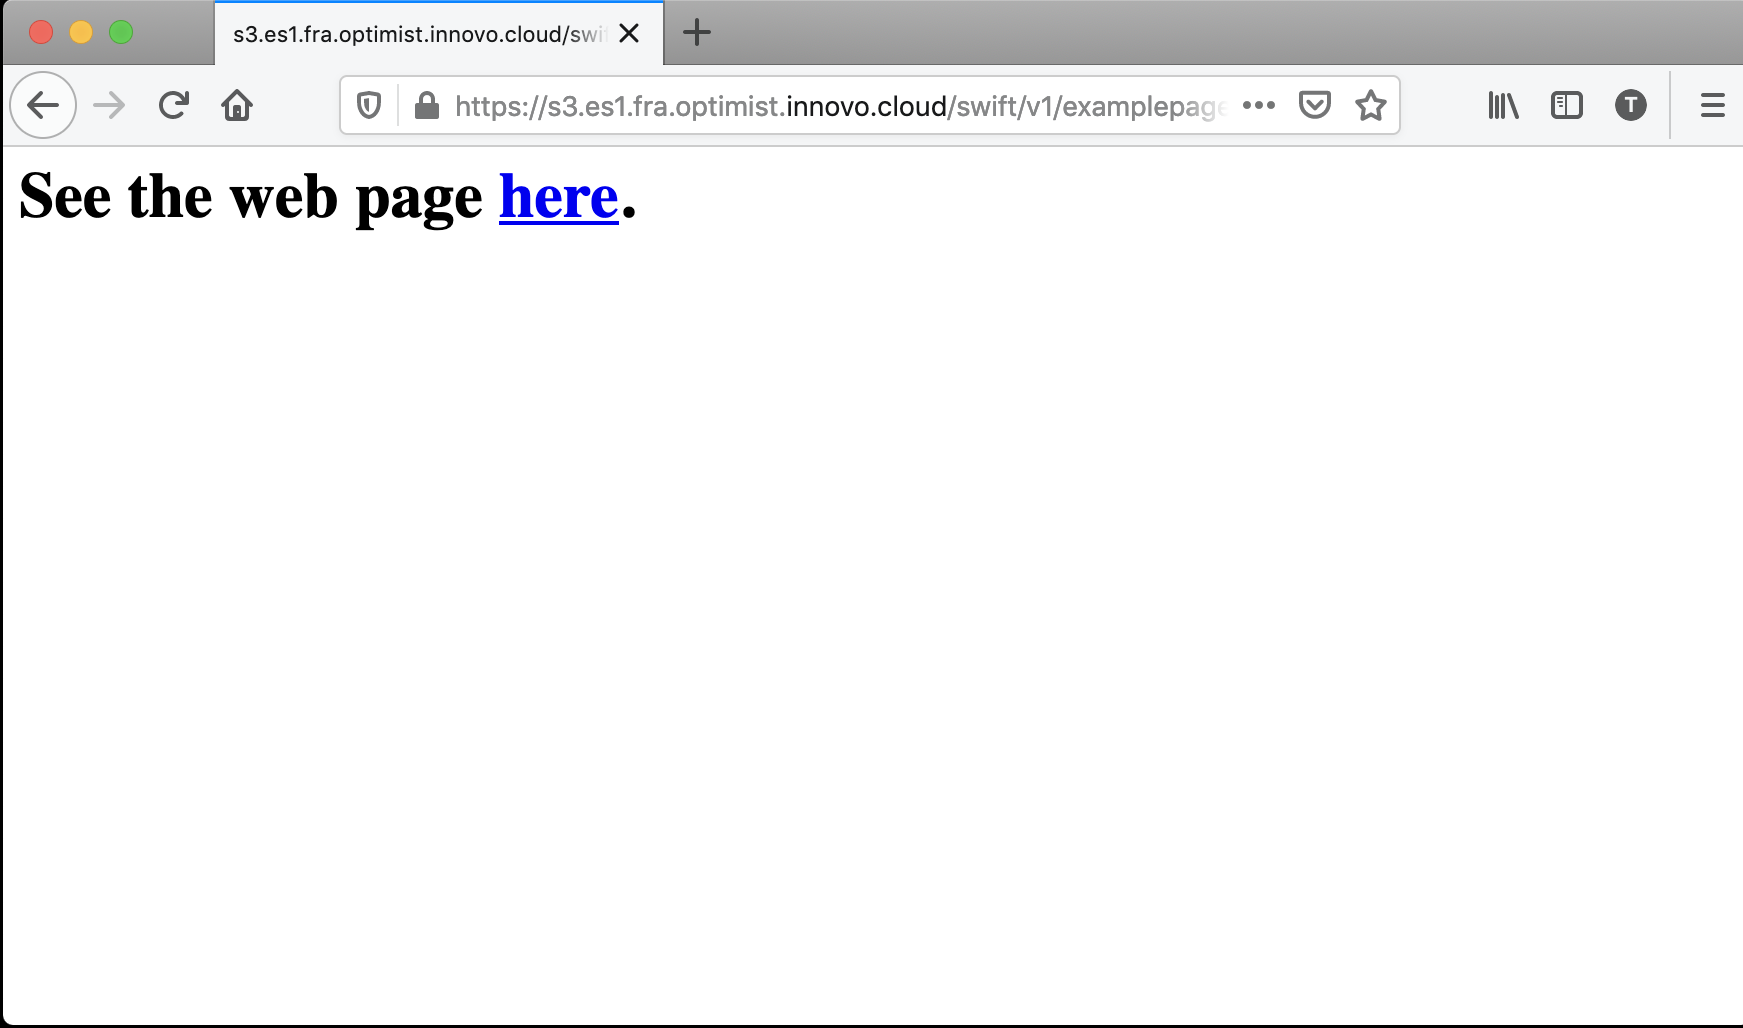
This will serve as the homepage, which will create a link to a secondary page.
<!-- index.html -->
<html>
<h1>
See the web page <a href="mywebsite/page.html">here</a>.
</h1>
</html>
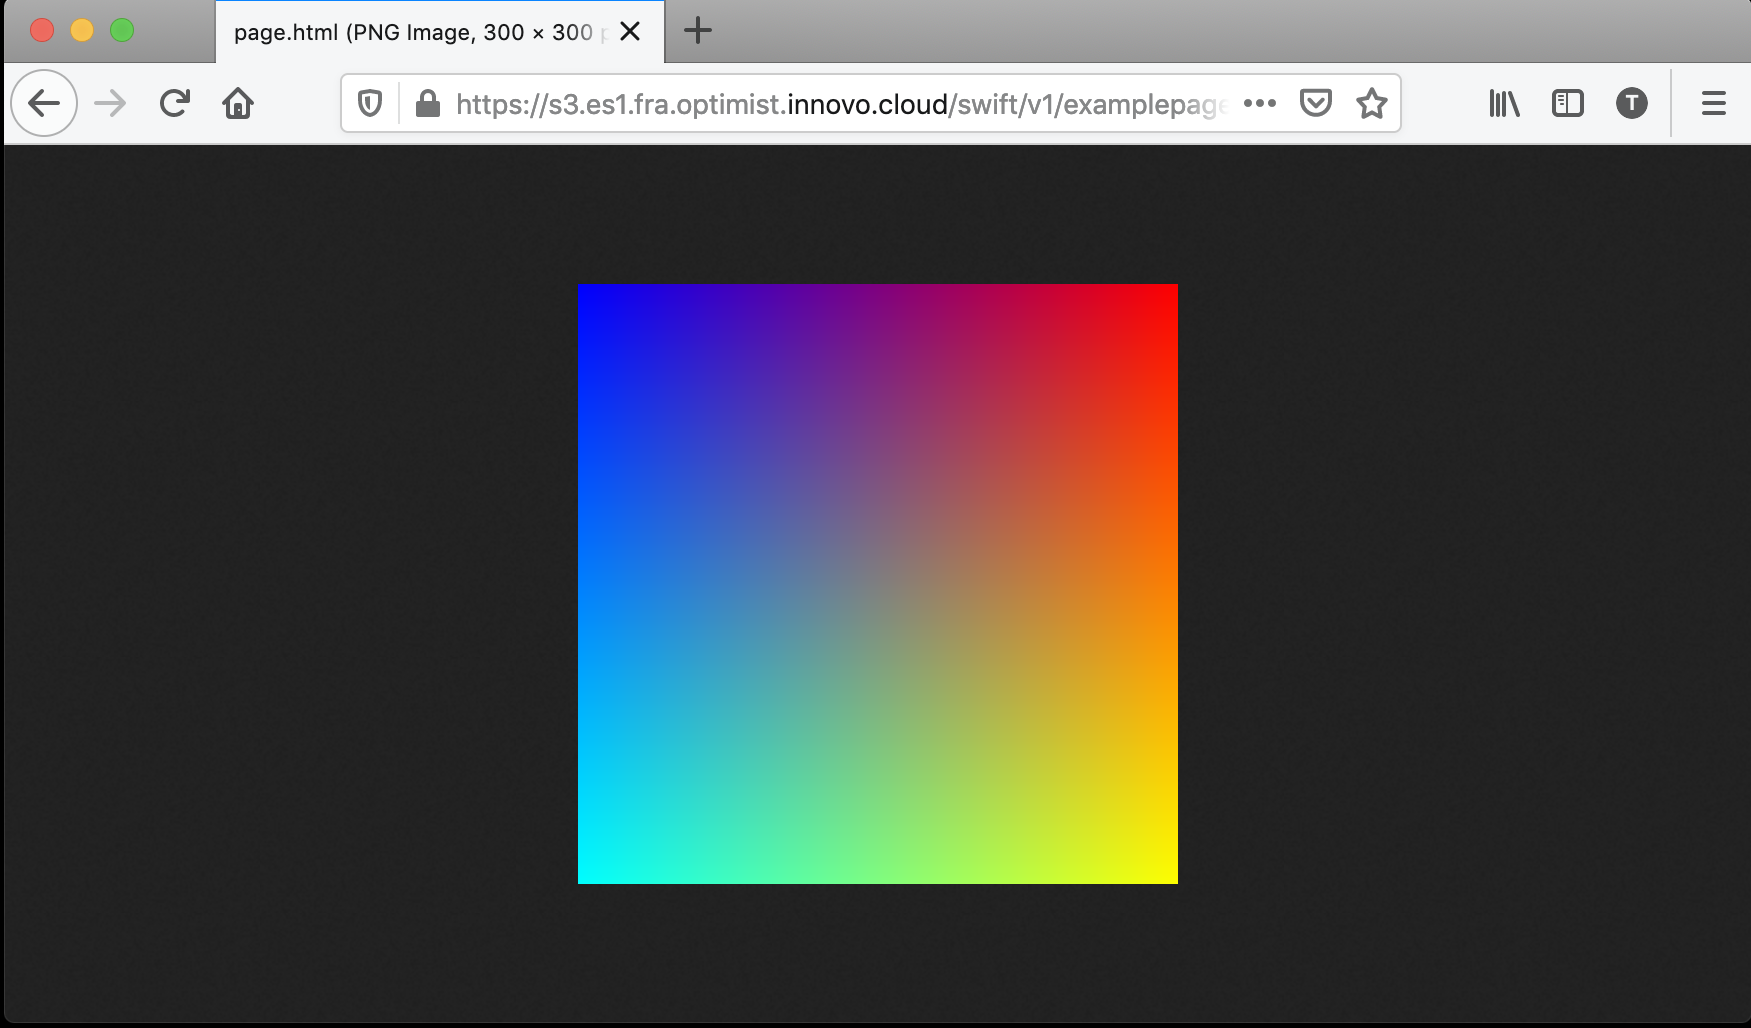
The next page (page.html) will display an image called sample.png:
<!-- page.html -->
<html>
<img src="sample.png">
</html>
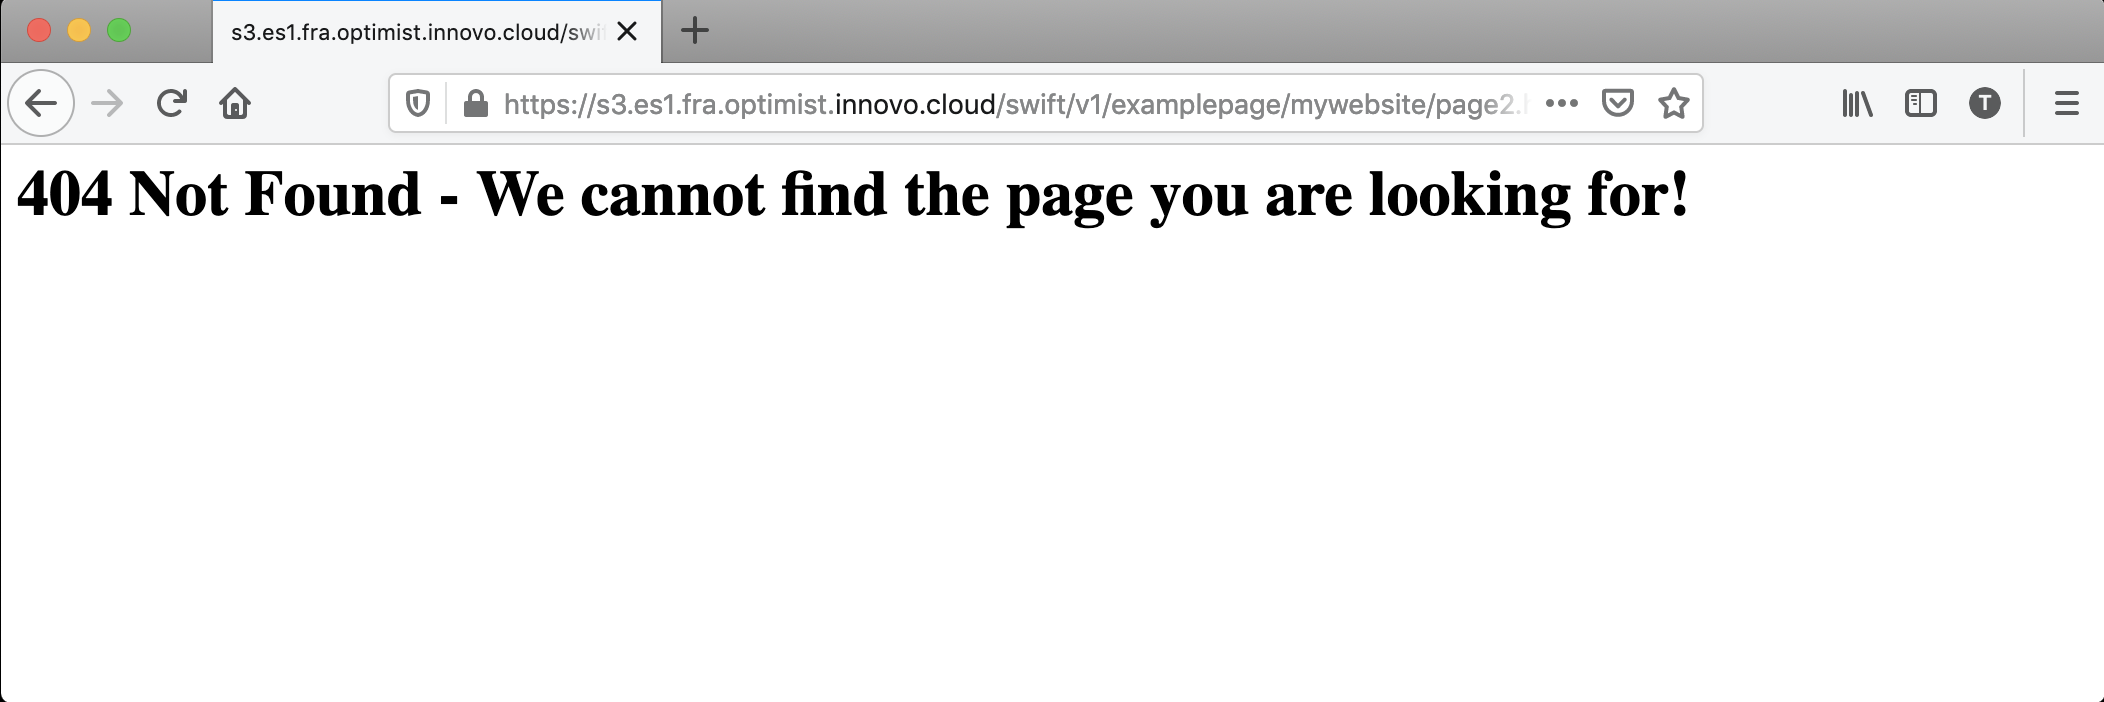
We can also add custom error pages. Note that currently only 401 (Unauthorized) and 404 (Not Found) errors are supported. The following example demonstrates the creation of a 404 Error page:
<!-- 404error.html -->
<html>
<h1>
404 Not Found - We cannot find the page you are looking for!
</h1>
</html>
Upload the index.html and page.html files
Once the contents of the files have been added, upload the files with the following commands:
swift upload example-webpage index.html
swift upload example-webpage mywebsite/page.html
swift upload example-webpage mywebsite/sample.png
swift upload example-webpage 404error.html
Viewing the website
Once all of the above steps have been completed, we can now view our newly created website. The link to the website can be found on the Optimist Dashboard > Object Store > Containers using the link shown.
Clicking on the link displays our newly created website:
Click on “here” to navigate to the page where we uploaded our sample image:
In the event that we try to navigate to a page which does not exist, our custom 404 page will be displayed: